I’d got into a bit of a habit of buying a bottle of caramel coffee syrup in my weekly shop recently. It really does make sitting out my garden with a cup of coffee feel a little bit special and indulgent.

Those little bottles of syrup can be pricey though and it does add up. Even the supermarket version comes in around $6.50 for 250 ml. That’s fairly steep for something that involves around 30 cents worth of ingredients and less than 15 minutes to make, including the cleanup.
More importantly to me at the moment though is that I noticed that in addition to the expected sugar and water it included 5 numbered ingredients representing artificial colour, flavour, stabilizers and food acids. Additives that I actively try to exclude from my diet.
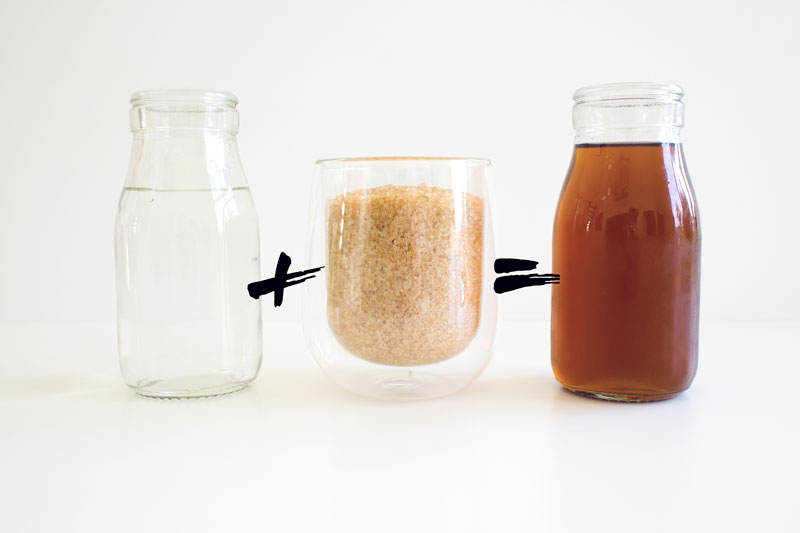
Knowing that the syrup really only required the sugar and water to create a caramel flavour I set about making my own version and working out the right level of dilution for using the caramel coffee syrup in my cuppa. The resulting mix is extremely close in colour, consistency and flavour to the version I had been buying but at a fraction of the price and without any additional compounds that aren’t required in the process, or my body.
When making the syrup at home it does need to be stored in the fridge to keep it fresh but will keep fine in there for a month or two. I find this quantity works well for us and it’s so quick and easy to make a fresh batch when I need to that I prefer not to make up a bigger quantity. Of course, if you do need a bigger batch it’s very easy to multiply up the recipe. It would make an excellent kitchen gift packaged into a cute glass bottle.
I use raw sugar in all my baking, I prefer the flavour and it’s what I have in the cupboard but it does make this recipe slightly more complicated as the colour will be amber as soon as the sugar melts even though it has yet to caramelize and develop it’s flavour so I need to rely more on the fragrance and timing.
If you remove it too early you have a simple sugar syrup that is useful for making cocktails but not that delicious flavour you want in your coffee. To make it a little easier if you are new to making caramel I would suggest you use processed white sugar. That way the colour will be an excellent guide to the progress of your caramel as it turns from a clear liquid to that gorgeous golden amber.

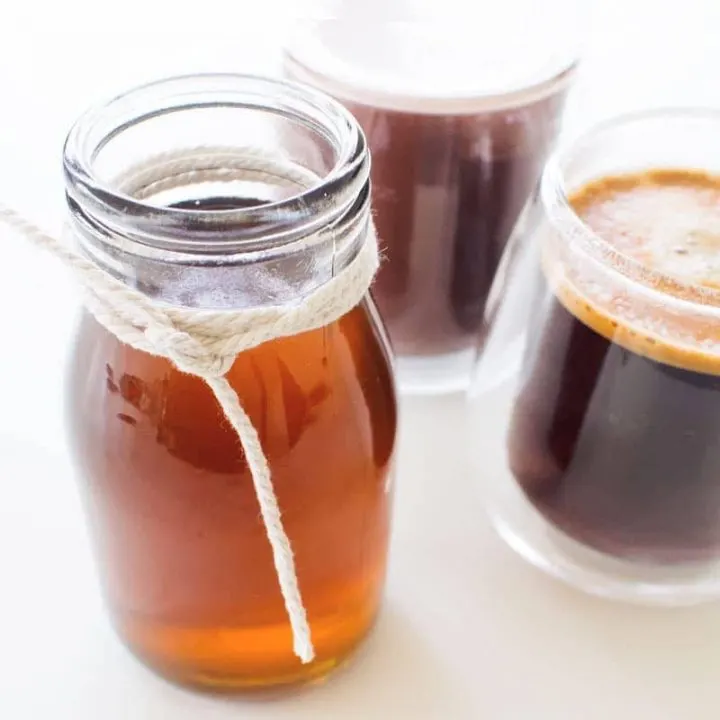
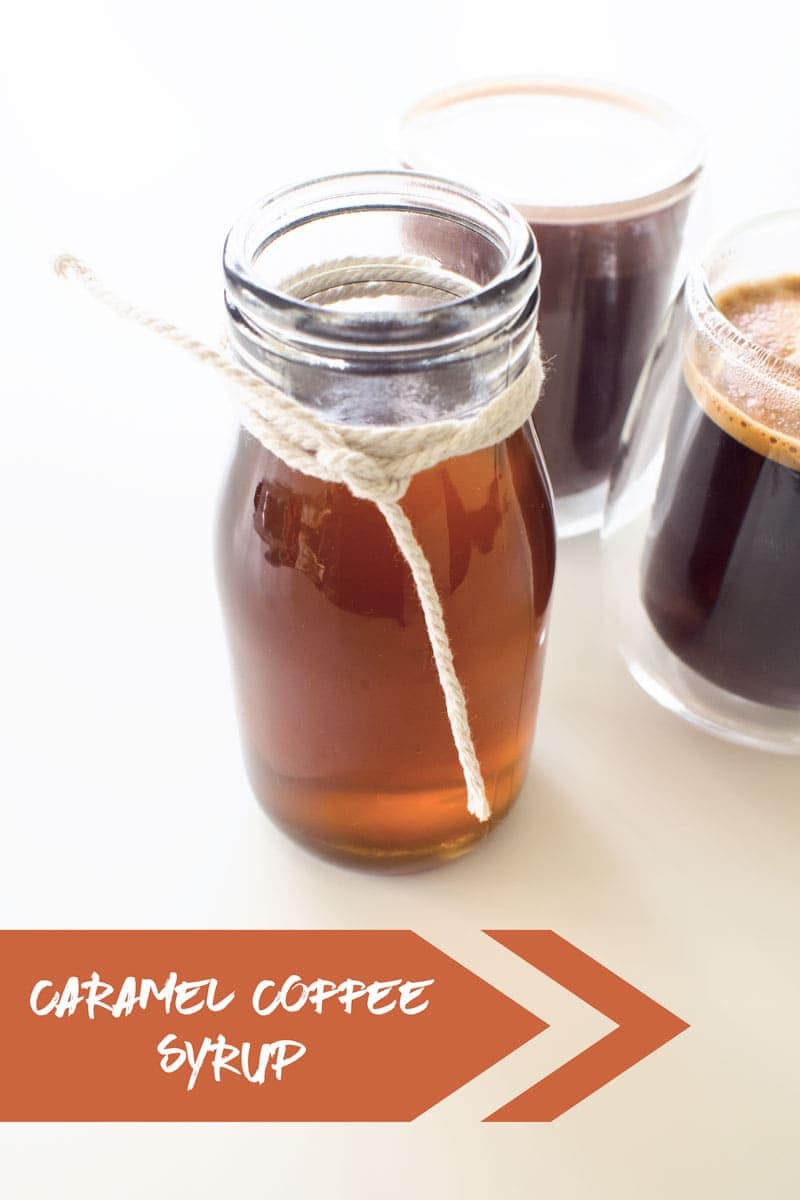
Caramel Coffee Syrup
A deliciously flavoured caramel syrup to add to your coffee for an extra special treat. You deserve it!
Ingredients
- 1 cup sugar
- 1/4 cup water
- additional 2/3 cup boiling water
Instructions
- Place sugar and the first 1/4 cup measure of water into a heavy based saucepan.
- Heat the sugar slowly on a low heat while tilting and swirling the pan the ensure the sugar is fully dissolved in the water. Alternatively use a wooden spoon sparingly to stir it gently.
- Now you can increase the heat to medium and the syrup will begin to boil and foam. Continue gently swirling the pan, lifting above the heat when necessary to control the foaming boil for 2-3 minutes until it's caramelized to the desired level and it develops a golden amber color.
- It's better to go a little early if you are unsure, if you take it too far it can become bitter or even develop a burnt taste.
- Remove from heat and very carefully add the second measure of boiling water and stir. Be careful at this stage, it will bubble and steam when you add the liquid. By having the water as hot as possible that reaction is minimized and will bring the syrup to the desired liquid consistency.
It really is so simple that it hardly warrants calling it a recipe but please do take care if you decide to make it. The sugar mixture boils at around 115° c so care is necessary to avoid scalding or steam burns, especially when adding the additional water to the boiling syrup to create the coffee syrup consistency.
I suggest using a heavy-based saucepan in the recipe. This is because it will distribute the heat more evenly making it effortless to melt the sugar and caramelize it without it catching and making a mess in the pan. This will not only create a better end product but saves time on the cleanup. I also find the swirling method rather than stirring results in fewer sugar crystals becoming stuck around the side of the pan.
And that’s it, how easy is that? Now just to make yourself that cuppa add a tablespoon of caramel coffee syrup and sit down and enjoy it. For an extra morning treat, I’m really enjoying my chai spiced sugar cookies at the moment, have you tried them?
Save this image (or any others from this page) to Pinterest so you can quickly find the recipe when you need it.

Gabrielle Gentry
Wednesday 13th of July 2022
I let my syrup boil for 2-3 minutes and it came out clear. What did I do wrong?
Toni Broome
Thursday 14th of July 2022
Hi Gabrielle, it would either be needing to continue on for longer, perhaps it wasn't as strong a boil or if you accidentally tip all the water in with the sugar at the start rather than just the first measure. You want some to make it easy to melt and stop it sticking but dilute it too much too early and you'll get sugar syrup, not caramel.
Claire Miller
Wednesday 30th of December 2020
How do you store your syrup after it is done?
Toni Broome
Friday 1st of January 2021
Hi Claire, I store it in a glass bottle in the fridge and use it from there, mainly that is because ants are an issue in our sub-tropical climate so storing sugary things like this and jams in the fridge not the cupboard is easier. Sugar is an antimicrobial preservative and unlike the caramel icecream topping, this doesn't contain dairy so it isn't technically necessary to refrigerate.
Geenie
Tuesday 21st of July 2020
When do I put in the 2/3 cup of boiling hot water?
Toni Broome
Thursday 30th of July 2020
Hi Geenie, it's included at step 5 after the pan is removed from the heat. Be careful when you pour it in to avoid steam burns or splashes.