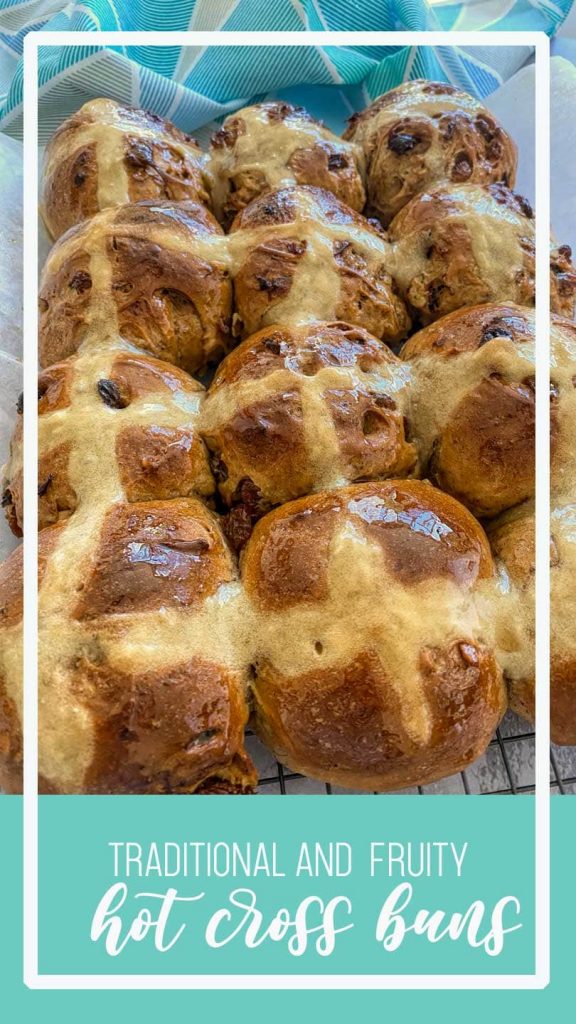
Planning to serve up a treat on Easter morning? My soft and fruity traditional hot cross buns are something the whole family will love.
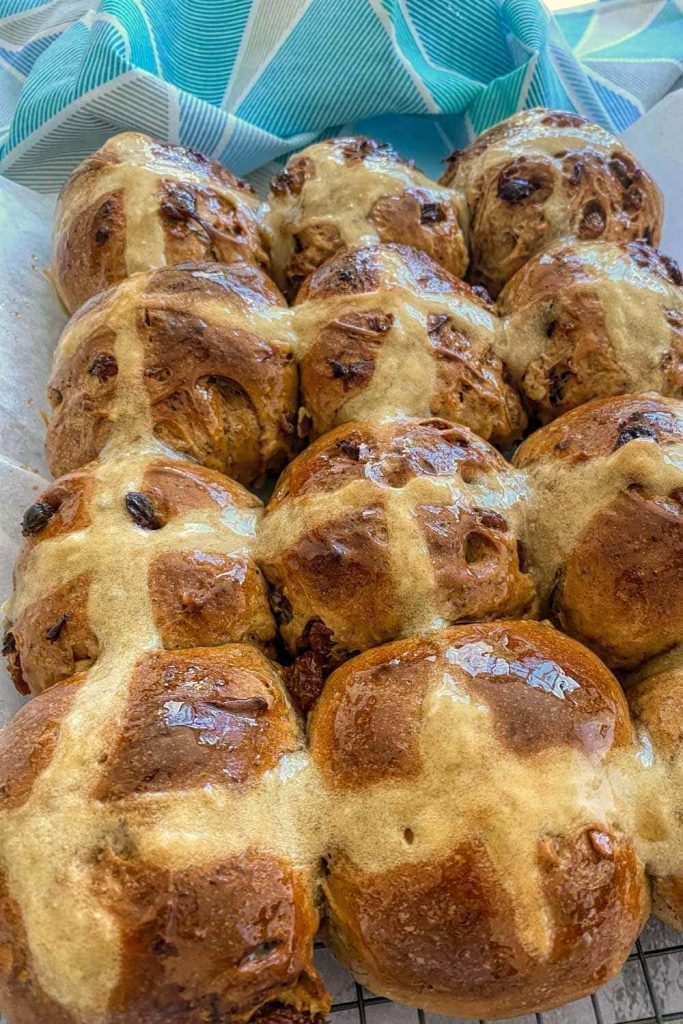
These traditional hot cross buns are loaded with spices and fruit. Borrowing on my love of Japanese milk bread they have a light soft texture combined with the familiar sticky glazed exterior. if you're a bit unsure about working with yeast, this recipe has been thoroughly tested both by hand and with a bread maker, with various flour qualities and different yeast techniques so you can make it with confidence for your Easter celebrations. Without the crosses they make a great brunch option or addition to the picnic hamper all year round
Table of Contents
It's starting to feel a lot like ... Easter
With Easter right around the corner, I might usually be sneaking a pack of traditional fruity hot cross buns into my weekly shop for a morning treat. I'd normally only bake homemade for breakfast on Good Friday but things are anything but usual this year. The celebratory treat has been in short supply along with many other items on our supermarket and bakery shelves.
This Easter we won't be gathering with friends and extended family. Eater services are cancelled across the country and much of the world, so it's even more important to keep the normality where we can and savour the connection with loved ones and tradition.
It feels a long way from family at the moment but my sister in law prompted me from New Zealand this week to send over a hot cross bun recipe that would make a special treat for the family on Easter morning. On top of being delicious, it also needs to be able to be put together with what's in the pantry so I've left it flexible with your choice of fruit. It also doesn't need bread flour, if you have it you can definitely use it but this works out perfectly well just with supermarket brand plain flour.
The version I settled on is based off my spiced fruit bread which is always a popular weekend breakfast but it's tweaked a little including replacing the water with milk for a softer bun. Japanese milk bread is my favourite, it's super soft and delicious, and has been a huge inspiration on my bread making over the past year. While this isn't a typical 'milk bread' recipe it does enjoy several of the advantages in flavour and texture.
Taming the yeast
I've been baking most of our bread for a couple of years now. Although I only started because I developed a reaction to something used as a preservative in commercial loaves I now love the process and find the kneading and steady pace quite relaxing. You can't hurry yeast but the flavour and texture of homemade bread are well worth that extra effort.
That said I do understand that if you don't bake with yeast regularly the idea can be a little daunting.
Firstly I'd recommend making sure you get hold of instant yeast. Although I do still sometimes foam it in the liquid when kneading by hand it is extremely forgiving and can be thrown directly in with the dry ingredients just like you would with a raising agent like baking powder. I've made a batch both ways in the last few weeks with no noticable difference in final result.

The only part of leaven bread or baking with yeast that is a bit fussy is the waiting time. It is generally around 90 minutes for the first rise, 45 for the second and then half an hour to bake. When you look at how long bread takes to make most of it doesn't involve you actually doing anything but you do need to be around at the end of each of the steps.
How to make traditional hot cross buns
While there are yeast-free recipes and Easter muffins, there really is nothing that beats a traditional hot cross bun with its pillowy soft inside, golden glow, packed full of fruit and shimmering in its sticky glaze. While it's probably fortunate for my hips that the holiday comes just once a year, if I'm going to indulge I want it to be worth it!
There are three main techniques you can follow when making these buns or bread in general and I use all three from time to time, the good news is that this recipe works well with all of them so you can take you pick based on what equipment you have on hand.
The breadmaker
The breadmake is going to involve the least amount of time doing anything because you put all the ingredients except the fruit directly into the bowl, set it to make a leaven dough, add the fruit about 20 minutes later when it beeps and then wait. The breadmaker mixes the ingredients, does the kneeding work, the first rise and then punches it down. When it's done you remove it, shape it into an even shape, cut into 12 even pieces, roll and place on the tray for the final rise before baking.

If you have a breadmaker handy it's an easy and convenient option with less cleanup and you really don't lose anything in flavour or texture by doing it that way.
I had a Panasonic one for over a decade which I loved but when I replaced it a few years ago I went with a cheaper version from Kogan, it works fine and looks good in stainless steel but the motor has already slowed and I'll be going back to this model by Panasonic when it's time to replace it. I make almost all our bread so it's an appliance I find worth having, it's not a necessity for every cook or kitchen.
The bread hook
If your stand mixer has a bread hook attachment that is another option to save some energy and a little mess. You'll mix it up as if you were doing it by hand and then the hook does the kneading for you while you have a cup of tea. You can mix, process and do the first rise all in the bowl of the mixer so there's no extra cleanup with this option either.
My CuisineArt stand mixer was a bit of a splurge many years ago now but one I expect to have for a long time to come, they are incredibly durable and a total workhorse, albeit a very pretty one. Together with the dough hook it's a good option for breadmaking especially if you have the space on your counter to keep it set up as they are quite heavy to lift in and out of the cupboard.
By hand
While I have listed this option last it's not the last resort. I love making bread by hand, there's a real sense of satisfaction and it's not difficult. I pop on a podcast or some music for the kneading stage and get to it. It takes about 15 minutes for the initial process to get everything added, mixed and then the 10-minute kneading so it's not overly time-consuming. You'll want to thoroughly clean your benchtop before and after kneading but really there is not that much mess either.
Which of the three options you go with really depends on what you have available and what you need to multi-task. If you don't have a breadmaker or stand mixer with the hook attachment then they aren't essential, you might be like me and still make it by hand half the time anyway.
Recipe

Traditional hot cross buns
These fruity Easter buns have a soft fluffy texture and a sticky glaze.
Ingredients
- 340 ml (millilitres) of milk
- 2 teaspoons instant yeast
- 3 tablespoons oil
- 4 ½ cups flour
- 1 teaspoon bread improver (optional)
- 3 tablespoons brown sugar
- 1 teaspoon salt
- 2 teaspoons cinnamon powder
- 1 teaspoon ground cloves
- 1 ½ cups sultanas or mixed dried fruit
- 5 tablespoons plain flour
- 0.5 teaspoons flavoured essence (optional)
- 4 - 4.5 tablespoons water
- 2 tablespoons maple syrup
Instructions
PREPARING THE DOUGH
- Warm milk until it is lukewarm, add the yeast and stir. Let it stand for 10 minutes.
- Add the remaining ingredients to a large mixing bowl, then pour in the milk and yeast mixture
- Mix with a butter knife or spatula until it starts to come together then use your hands until fully combined
- Turn the dough out onto a clean floured surface and knead for 10 minutes. It will be smooth and elastic.
- Wipe your bowl and oil lightly, add the ball of dough back and cover with a couple of clean teatowels.
- Allow the dough to rise for around 90 minutes. The time it takes will vary based on the temperature of your kitchen
SHAPING THE BUNS
- Line a banking tray with low sides with baking paper
- Tip the ball of dough back onto a floured surface and punch it down
- Briefly knead just enough to return the dough to a smooth flattened circle and divide it into 12 equal pieces
- Roll each piece into a smooth ball and place on the tray with the smoothest side facing up
- Cover the tray with a domed cover topped with clean tea towels. An alternative is to cover with oiled plastic wrap for this stage.
- Allow to rise for a second time, this will take around 45 minutes
MAKE THE CROSSES
- Heat then over to 180 celsius
- Mix the extra flour with flavouring and water in a small cup or ramekin. You are looking to create a smooth paste that can be piped, a similar consistency to icing.
- Add the last of the water slowly so you don't end up with a paste that is too runny.
- Spoon into a piping bag with a small nozzle or a small plastic bag and then cut a small hole in the corner.
- Pipe down the length of the buns in the tray, then across the width, it's much faster and ends up neater than individual crosses.
BAKING THE BUNS
- Bake for 30 minutes at 180 Celcius
- Remove from oven and immediately brush with glaze
Notes
- The time on the recipe is when making the buns by hand. It includes around 15 minutes for the initial mix and kneading, 90 minutes for the first rise, 10 minutes to form the buns, 45 minutes for the second rise, 5 minutes to pipe the crosses and 30 minutes to bake.
- When preparing the dough you can skip step one and add the milk and instant yeast directly to the bowl if you prefer, that is the advantage of instant yeast. This is a habit from when instant yeast could be hard to get but I still find this step gives me a more consistent result regardless of the temperature of the day.
- The bread improver is a product you'll find in the supermarket along with the yeast and flours, I add it if I have some in the fridge but it's not essential. It is used to help gluten development and can be useful with breadmakers especially if they aren't kneading quite as efficiently as they used to. If you don't have it, leave it out, there is no substitution required.
- The tiny amount of flavoured essence in the paste for the crosses is also optional. I used butterscotch this year with a maple glaze, in the past, I have used orange with an orange glaze.
- Not everyone likes their hot cross buns glazed but that sticky finish is part of what makes a traditional hot cross bun. This year I used maple syrup as I had a bottle in the cupboard, other alternatives are reducing fresh orange juice and sugar to a sticky syrup in a small pan on the stove or melting 2 T or smooth apricot jam on the stove and brushing those over the buns straight after they come out of the oven.
Nutrition Information
Yield 12 Serving Size 1Amount Per Serving Calories 319Total Fat 5gSaturated Fat 1gTrans Fat 0gUnsaturated Fat 4gCholesterol 2mgSodium 198mgCarbohydrates 63gFiber 3gSugar 18gProtein 7g
As I'm neither a nutritionist nor a mathematician I rely on an automated tool to calculate these values. They should only be used as indicative.
Looking for more holiday treat recipes?
- My personal favourite is our Baileys and white chocolate fudge
- Our readers particularly enjoy the Baileys chocolate truffles, and
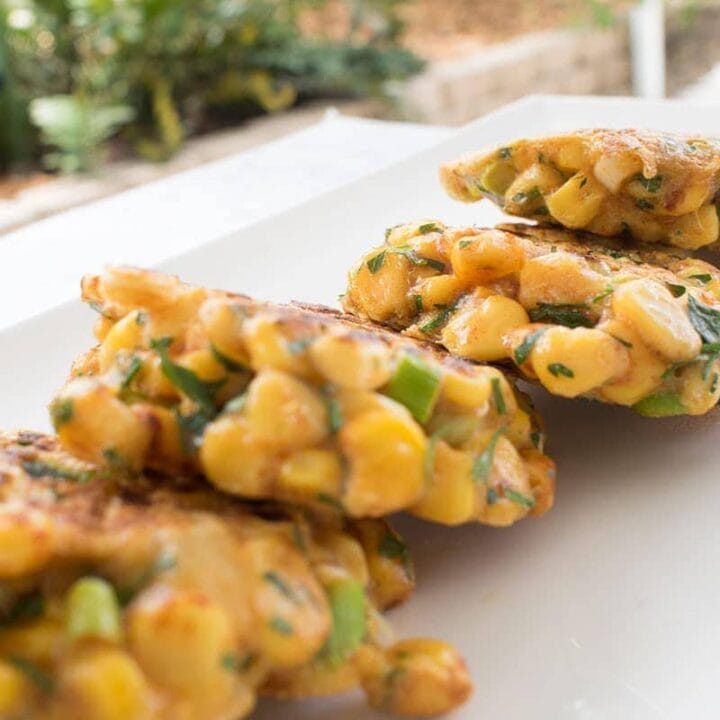
- For an alternative Easter brunch consider these corn and herb fritters
If you enjoyed this recipe please consider saving it to Pinterest. It helps us, and it helps others search for inspiration in the kitchen.
Kirtika saha says
It's looks so delicious. They are nice article share. This article is very useful. I’ve been baking most of our bread for a couple of years now. Thanks for sharing your information.